Tech, Software
macOS Catalina on RAID 0: How to Bypass the Installer Block
Starting with 10.13, Apple officially stopped supporting booting from RAID 0. In Catalina it is even harder, because the system partition is read-only and the installer rejects RAID volumes by default. Does that mean the end of performance? No. macOS runs great on RAID - you just have to force the installer. Here is a proven method.
What you need
- Patcher from @dosdude1 - the tool required to create a modified installer.
- Two SSDs - to build the array.
- USB drive - at least 16 GB for the installer.
- Patience - we will use Terminal.
Step 1. Prepare the installer
Download macOS Catalina Patcher from dosdude1.com. Use it to download the system image and create a bootable USB drive.
Hackintosh: If you install the system on a PC (Hackintosh), after creating the USB you must install an EFI bootloader (Clover or OpenCore) with your kexts and config on the EFI partition. If your setup worked on a single disk, it will also work on RAID.
Step 2. Clean and create the array
Boot from the prepared USB drive. From the top menu choose Utilities > Terminal. We need to manually remove old partition layouts and create an AppleRAID array.
Enter the following (watch disk identifiers - check them first with diskutil list!):
diskutil unmountDisk disk0
diskutil unmountDisk disk1
gpt destroy /dev/disk0
gpt destroy /dev/disk1
# Create RAID 0 (Stripe)
diskutil appleRAID create stripe Storage JHFS+ disk0 disk1
Note: disk0 and disk1 are example names of your physical drives.
Step 3. Format and install
- Close Terminal.
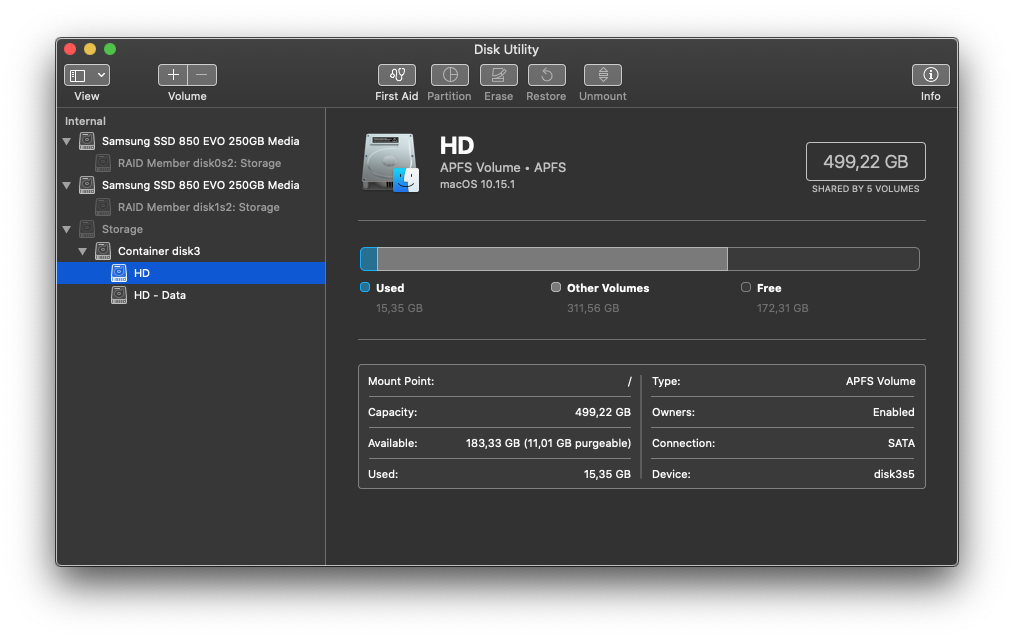
- Open Disk Utility.
- Format the newly created array as APFS.
- Close Disk Utility and start the standard macOS Catalina installation.
Important: During installation the computer will restart. After the restart the installer may throw an error saying it cannot install the system. This is normal in this procedure.
Step 4. Work around the error (Terminal)
If the error occurred, restart the computer and boot again from the installer USB.
- Make sure you have a network connection (Wi-Fi/Ethernet).
- Open Terminal and enter the commands that unlock write access on the system partition and move the problematic cache file:
/sbin/mount -uw /
mv /usr/standalone/bootcaches.plist /usr/standalone/bootcaches.bak
- Restart the computer.
Step 5. Post-Install Patch
Boot from the USB drive again. This time in the Patcher menu choose macOS Post Install.
Select:
- APFS Patch
- SIP Patch
Confirm. The tool will rebuild caches (it may take a while). When it finishes, restart the machine. The system should now boot directly from the RAID array.
Troubleshooting and optimization
If the system does not boot after restart, enter Recovery Mode (from the USB) and disable SIP manually:
csrutil disable
Restart the computer.
After a successful install, it is worth running a few commands in Terminal:
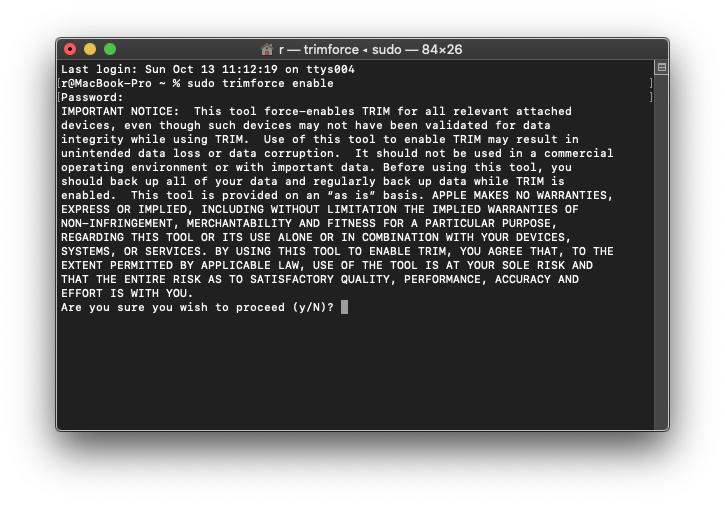
- Enable TRIM (for SSDs): Bashsudo trimforce enable
- Update shared cache: Bashsudo update_dyld_shared_cache -root /
- Update the Preboot volume: Bashdiskutil apfs updatePreboot disk3s5
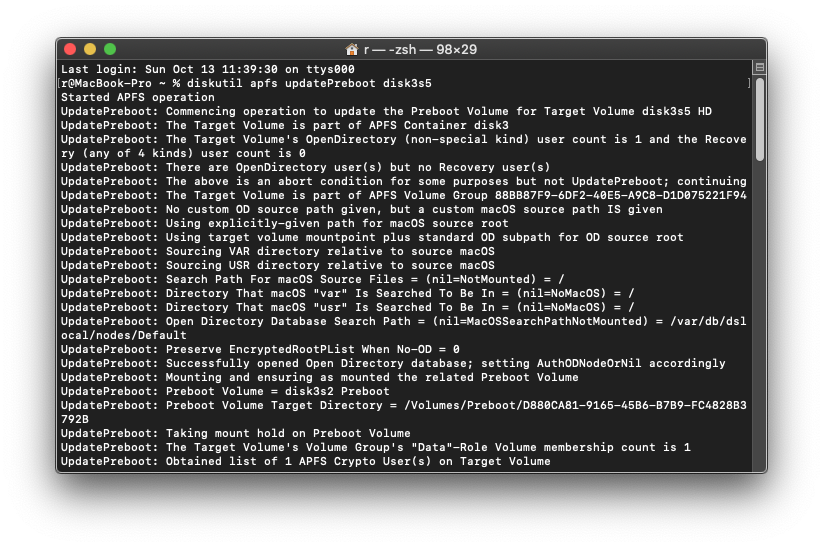
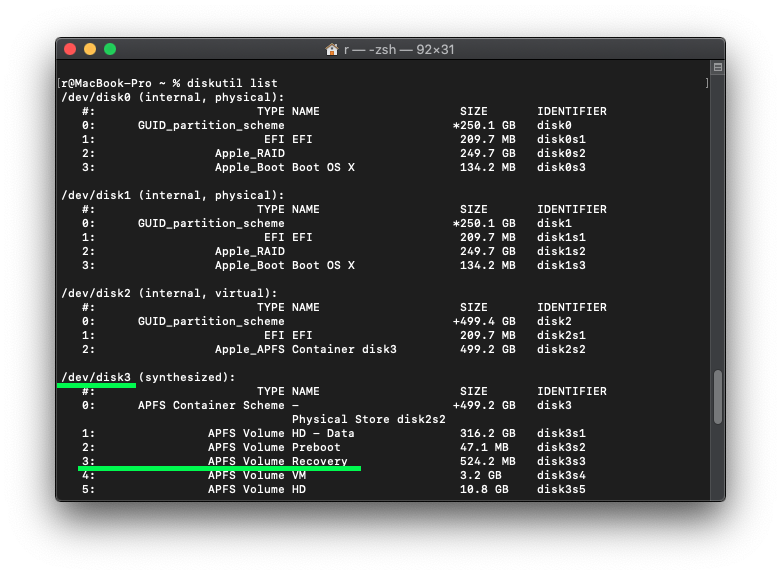 (Make sure
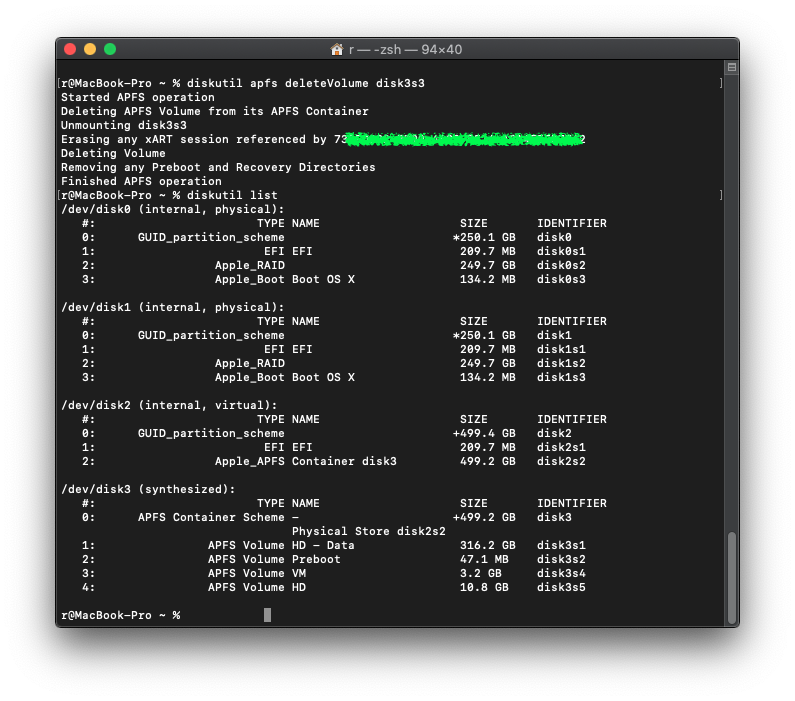
 disk3s5is your system partition) - Remove Recovery HD (optional): On a RAID array the Recovery partition usually does not work properly, so you can recover space: Bashdiskutil apfs deleteVolume disk3s3
System updates
During updates (e.g., to a newer version of Catalina) you may see the error "bless to place boot files failed." Do not panic. Just restart the computer - in 99% of cases the system will boot correctly with the new version.
